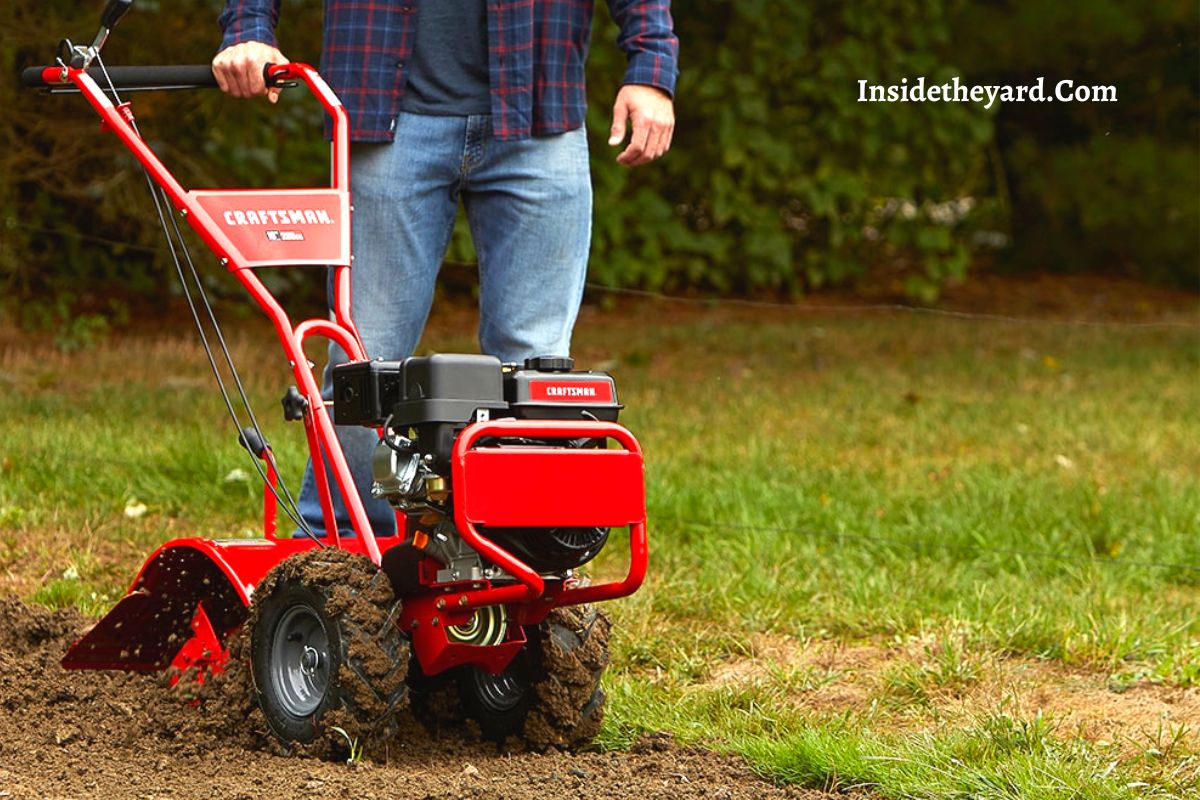
How do you remove clutch on Craftsman mini tiller? To remove the clutch from the tiller, you need a few screws and know your tiller well. However, you must follow the procedures correctly, or you might damage other components.
Sometimes a Craftsman mini tiller may malfunction. There are various reasons for malfunctioning. Among them, due to the clutch, the problem might occur. So, today we will discuss the craftsman mini tiller clutch removal process.
Craftsman Mini Tiller Clutch Removal: A Complete Guide
The clutch is a vital component of a tiller. There are various ways your clutch might get damaged. Firstly, the clutch won’t work if it’s not adjusted to its correct position. Furthermore, if your clutch receives damage from your lawn, it will stop working at a point.
It’s a clutch issue when you see that your grip starts to slip or you are having trouble while braking. The first step is to adjust the clutch. If that doesn’t work, then you have to remove it.
In the case of a craftsman mini tiller, removing the clutch is not that complicated. Below we will mention the proper steps and tools you might need to remove the Craftsman mini tiller clutch.
Ensure to follow the steps correctly; otherwise, a wrong action may disrupt other components in your craftsman tiller. That’s why you must follow the steps we will discuss below.
Crucial Facts to Keep in Mind Before Removing the Clutch
Before we get into the process, you must keep the right parts ready. Moreover, it would help if you had a good workplace as well. Try to do your work outside with enough daylight. You can also do it inside your house, ensuring the room has proper lighting. If you are new at this, you can have someone’s experienced beside you. However, the process below is quite simple for a beginner as well.
Use better quality tools to get the max efficiency while working. Getting the proper tools matter as it will impact the removal result. Furthermore, be patient and do all the steps slowly.
Removing the clutch fast might create a chance of damage to other components in the tiller. Also, if the damage to the clutch is beyond repair, you can replace the entire assembly with a new clutch assembly.
However, the process can be a bit different for other tillers as not all have the same design as the Craftsman one. But the idea of the removal can help you out in the case of the others.
How to Remove Clutch from Craftsman Mini Tiller?
Removing the clutch assembly from the Craftsman mini tiller is quite simple. If you have prior experience, you have nothing to worry about. But if you are new at this, follow every step very carefully. Firstly you will need some tools to assist you in the removal process.
Step: 1 Firstly take your mini tiller. Inspect it and find the base where you will notice a small rubber feed. While removing it be careful as it might e glued. Don’t tear it off, or you will have another problem with your hand. Then you will see four screws in front of you. Use your screwdriver to remove them. If they are rusted, replace them with new ones.
Step: 2 Secondly, after removing the screws, the base will be opened for you. Furthermore, it will also reveal the backside of the tiller’s motor. You will notice the turbine blade, like a wheel in the middle. It’s attached with a large flat top screw.
Step: 3 Now wedge the screwdriver in the middle of the teeth of the existing clutch. You have to do that because the other end will stop rotating when you turn the tip screw. Use some force to turn the other screw so that you can loosen the clutch. If you have the clutch remover, just use that to remove the existing clutch.
Step: 4 ( If You Want to Replace the Clutch ) Afterward, do a reverse so you can put the new clutch assembly on tight. Finally, put everything back where it was, and you are done. Also, when using grease to lubricate, use a little. An otherwise unnecessary amount of oil will get into other components.
According to a user discussion in fixya, removing the clutch assembly may cause a warranty void if you still have some time left. You can also encounter other components that are causing the clutch to malfunction.
So, you should replace those as well after removing your clutch. Also, try not to over-grease; otherwise, it will get to the friction pad causing severe damage in the process.
You May Like This Video Too!
Frequently Asked Questions (FAQs)
Is there any clutch removal tool?
Yes, there is a clutch removal tool that eases the process of removing the clutch from the tiller. You will find them in your local mechanic or any online marketplace.
How do you remove a clutch without a puller?
If you don’t have a puller, use a deep socket and fine tread. Afterward, remove the bolt and use the deep socket and tread while applying force. Until the force contact, you will see that the clutch gets removed.
Conclusion
You can see the process above if you are having trouble removing the clutch from your Craftsman mini tiller. Following all the steps will help you in the clutch removal. Make sure to use proper pieces of equipment as well. Furthermore, don’t hurt yourself if you encounter any rusty components. Try not to over-grease any element as it will slowly spread to the other parts causing another problem.
So, in the above, we included a simple Craftsman mini tiller clutch removal. Follow it to get your work done. Even if you are new at this, it won’t be a challenge for you.
