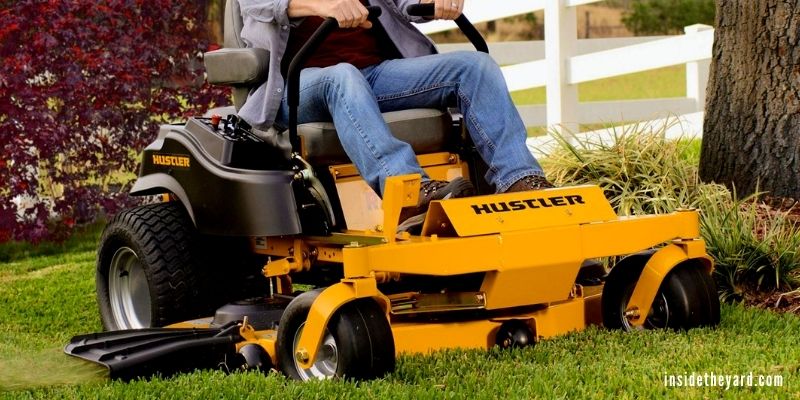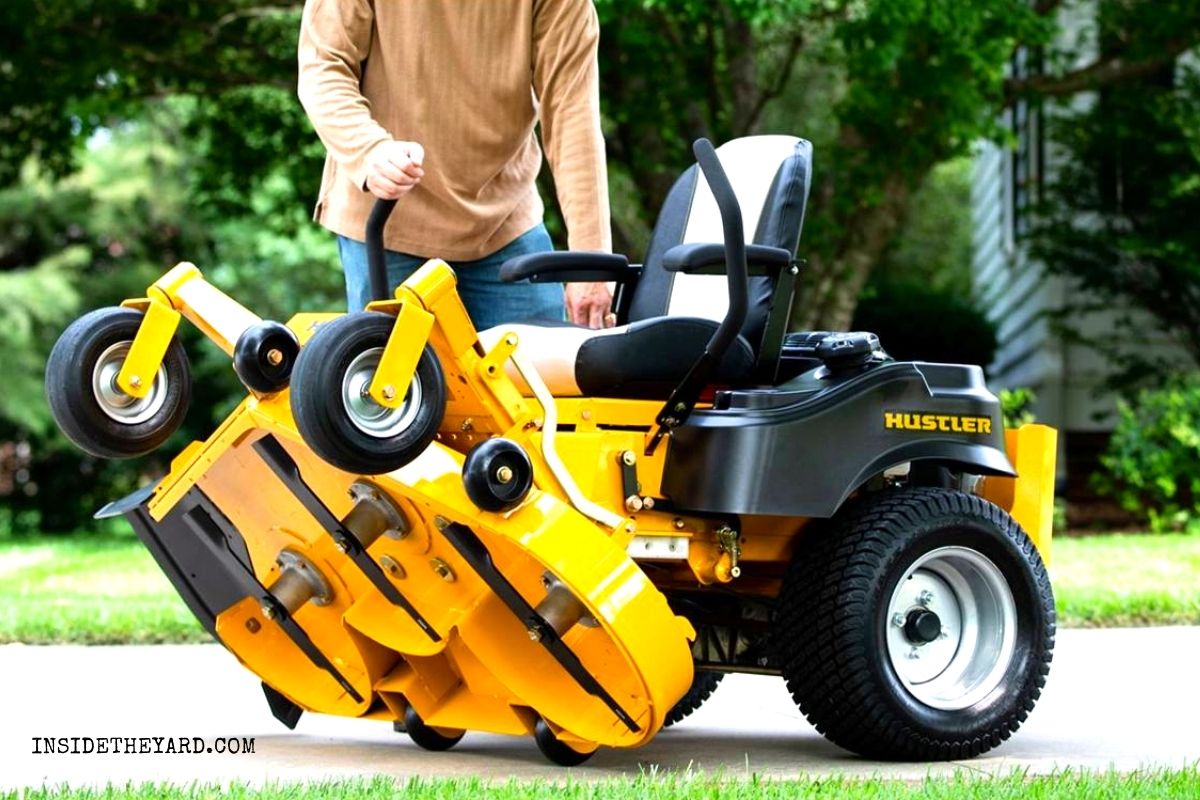
Hustler has been making Raptor Mowers for quite some time now. Their premium quality zero turn mower is making some headlines. However, today we are not going to discuss the features of Raptor Mowers. Today, we’ll let you know all the tips and tricks to replace drive belt on raptor mower.
Drive belts work like a puller that helps the mower to move. The belt is attached to a set of pulleys. The engines rotate these pulleys.
When you press down the throttle, the pulleys generate drag as the belt pulls them. However, for some reason, these belts can be damaged or torn. By following some easy steps, you can easily change the belt in no time.
How to Replace Drive belt On Raptor Mower
Replacing the drive belt is not that hard. If you have the right tools, then you can do it all by yourself. First thing first, you will have to buy a spare belt. Usually, the stock belt has teeth. It is for the heat to transfer efficiently.
Drive Belt Sizes For Raptor and Raptor SD Mowers
You can’t just use any drive belts for your raptor mowers. The Hustler Raptor or Raptor SD drive belt size is very specific. The length of the belt should be around 50.5 inches. The width is around 0.5 inches. However, you can also use the Raptor cut resistance drive belts for SD, SDX, and Limited series, as well.
But, one disadvantage of plain belts is that they cannot transfer heat generated for friction. In hot and humid weather, a normal belt might end up getting damaged. For that, you might need to replace it again. But, if you can’t find the right ones, you can still pull off with normal ones.
Step By Step Guide to Replace Drive Belt on Raptor Mower
You can easily change the drive belt of your Raptor or Raptor SD mower in no time. To do that, you will have to follow the steps chronologically.
Tools to Replace Drive Belt on Raptor Mower
You won’t be needing any heavy tools for replacing drive belts. However, you will need a needle-nose plier and an iron bar.
The needle-nose plier will allow you to pull down the springs. And the iron bar will help you to create an extra drag for the push. If all this sounds confusing, not worry. You will get to clear your doubts shortly.
Step One: Take Out the Drive Belt
First, you will have to take out the damaged or broken belt from the Raptor. It is very easy. You will have to pull it off and it will come off easily. If you face any difficulty, then it is stuck somewhere. Get down and take a closer look. Release the belt if it is stuck.
Now, as you have successfully removed the broken belt, it is time to install the new one. You will have to release the main drive belt first to do that.
To do that, you will have to release the tension first. The spring associated with the main pulley is responsible for the tension. So, you will have to loosen it first.
Step Two: Remove the Spring From the Drive Pulley
Now, as we are dealing with Raptor SD drive belt problems, we will have to get our hands a bit dirty. Go on the left side of the mower and lean down. You will be able to see a spring attached to the main drive pulley.
You will have to release the spring to get closer access to the drive belt. Take a needle-nose plier, pull down the spring to get off the hook. And you are good to go.
Step Three: Remove the Spring From the Deck belt
Now, for those who are not familiar with deck belts, it allows your vehicle to turn. It is also known as drive belts. When you have loosened the main belt, you will have proper access to the deck belt.
Go behind the mower, you will see another spring that pulls up the pulley. You will have to release that to attach the new belt.
Step Four: Attach the New Belt and Springs
Now, you will have to attach the new belt. There is a small opening on the deck to slide down belts. You will have a Raptor or Raptor SD Drive belt diagram with the manuals. If you don’t have any, search online.
Place the belt according to the diagram. Then attach the springs just the way they were. You will need the iron bar to create additional stress to re-hook the spring.
This Video Will Help You Too!
Frequently Asked Questions (FAQs)
Can You Replace Your Own Drive Belt?
Yes, if you have a simple needle-nose plier and an iron bar, you can replace your drive belts by following the right steps.
When Should I Replace My Drive Belt?
You will have to replace it if it is broken. Other than that, you should replace it if the mowers are used heavily. After all, there is no specific time frame for a drive belt replacement.
How long does it take to change a timing belt?
You see, it depends on your skills and the state of damage. You can easily replace a timing belt within an hour. However, if you have additional work, then you will have to give it a little more time.
Final Thoughts
So, as we have learned how to replace drive belt on raptor mower, we will do it all by ourselves. But, s few dos and don’ts remain before conducting a replacement procedure.
The first thing is safety. When you are attaching or losing the springs, you will have to be extra careful. Because the springs might hurt you, another thing that you need to check is the belt placement. Wrong belt placement can be hazardous and will damage the pulleys.
So, try to follow all the steps carefully and place the new belt according to the diagram. Other than that, you are good to go!
