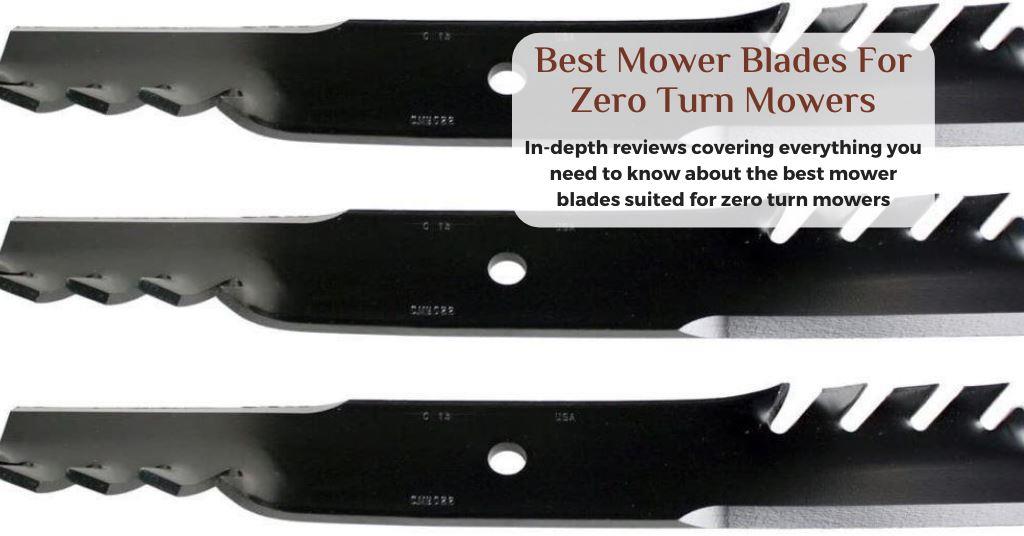
After years of use, your zero turn mower is bound to face the wrath of endless acres of tough grass, mulch, and brush. And of all the parts of your mower, it’s your blades that suffer the most. When the time comes, your blades get dull or dented. To help you out here is an easy guide on how to change blades on zero turn mower.
How to tell if your blades need to be sharpened or replaced
Though dull blades can still mow your grass, they leave an uneven cut. Not only that but dull blades end up ripping your grass leaving brown or white-tipped grasses that become susceptible to diseases. Instead of getting a beautiful green golf-course finish, your freshly mowed grass will soon turn brown dry and possibly dead. Sharp blades are the pure essence of a mower, without them, you’re mowing your grass for nothing.
- When to sharpen:
Periodic sharpening can help keep your blades sharp much longer. It’s recommended that you sharpen your blades once or twice a year. This would depend on how much you use your mower. Heavier use will require you to sharpen your blades more often.
- When to replace:
All mowers come with the manufacturer’s guides, including your mower’s blades.
- Blade thickness. If your blades are half as thick as they used to be (even if it’s still sharp and straight), you need to have them replaced. Thin blades are prone to splitting and can cause serious damage to your mower and especially to you. You don’t want a broken blade flying from your mower.
- Bent blade. No matter what, you should immediately replace a bent blade. This is also prone to breaking in half and could also damage your mowing deck permanently.
- Cracks and ragged edges. Another hazard is cracking on your blades, this reduces the integrity of your cutting prowess, plus it also makes it prone to breakage.
How to change blades on zero turn mower
- What you need:
- Jack
- Jack stands
- At least two wrenches
- Gloves
- Mower blades for your zero-turn mower
- Steps required to replace blades on your zero-turn mower
- Park your vehicle on even ground and make sure the engine is off.
- Position your jack and crank your mower up to the highest height possible.
- Place your jack stands under your mowers to keep it steady.
- Find your sparkplug wires and disconnect it.
- Go above your mowing deck and pop your belt cover. Simply unlock the brace holding your belt cover down. The cover is pretty easy to remove, some mowers slide off while some have locks that you can easily pop off.
- Using a wrench, secure the spindle on top of your mower. Keep the wrench on the top spindle to lock it in. It will prevent the mower from rotating while you take the bottom spindle off.
- Go down and lie down beside your mower, using a wrench, undo the bottom spindle. Turn the wrench counterclockwise to release the nut.
- Once the nut is out, remove the blade bolt, the spring washer, and the blade from the spindle.
- It’s either you remove the other blades and secure your mower so you can sharpen your blades or get a new replacement for your worn-out blade.
- Insert the new blade through the spring washer.
- Position the new blade and spring washer under your mower. Before securing your blade, make sure that your blades are positioned upwards while you install it. Those new or newly sharpened blades are quite sharp, so take caution.
- Slide the bolt through the hole of the blade.
- Go to your mowing deck and align your blade to the spindle bolt. Get the nut and use your fingers to tighten the nut. Finish it off with a wrench to make sure the blade is positioned in place.
- Do the same for the rest of your blades.
- Once you’re done, put back the belt cover and lock it in place.
- Remove the jack stands and put your mower back down.
Your mower is only as efficient as the sharpness of your blades. Without your blades in pristine condition, your mower is nothing but a machine sitting in your garage. Removing and replacing your blades is a routine task that you need to master. And this quick guide will surely help you in changing the blades of your z-turn mower from here on out.
