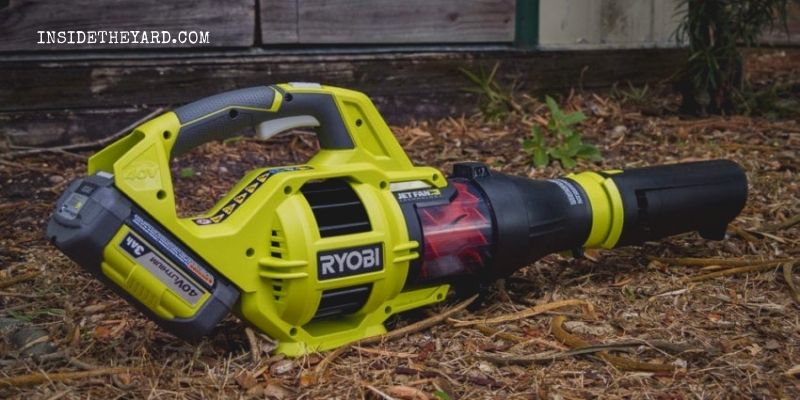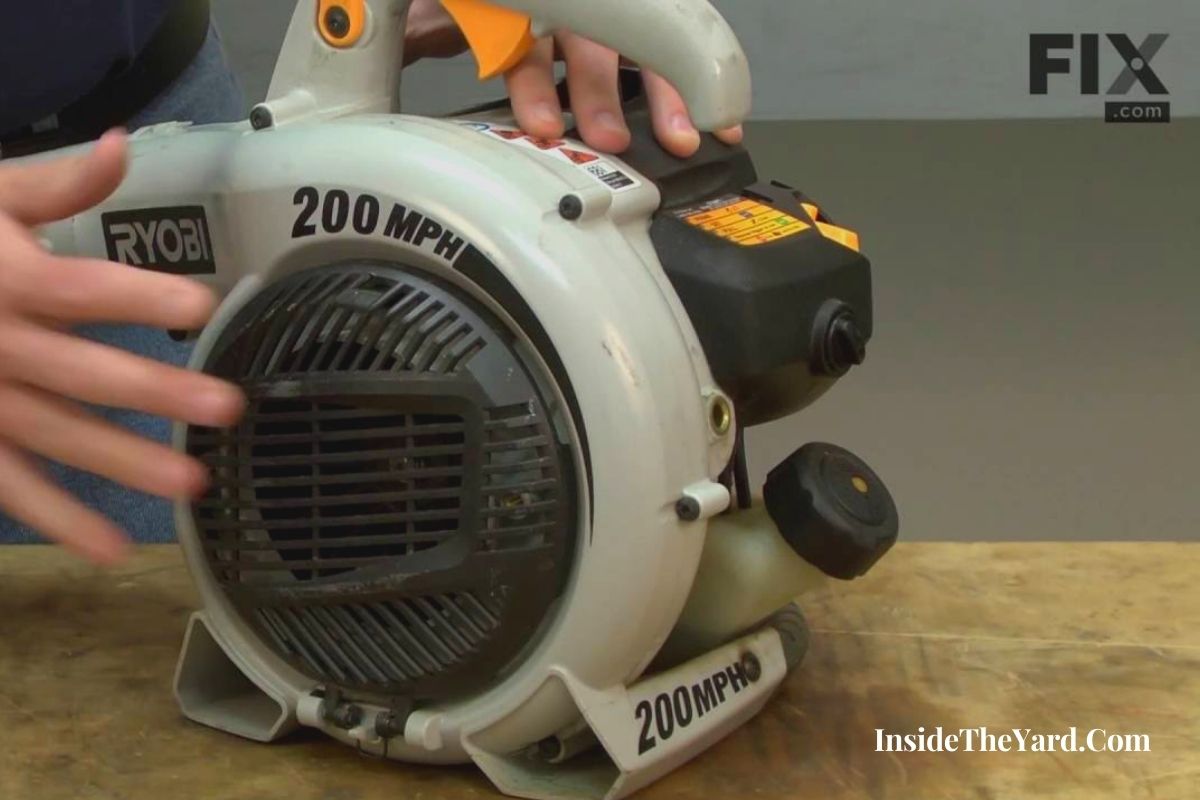
Leaf blowers are a pretty common tool around households. However, they may not operate well when the oil texture in the carburetor goes too thin or too rich. Therefore, you need to adjust the carburetor on your Ryobi blower. But how to adjust carb on Ryobi leaf blower?
Adjusting the carburetor on a Ryobi leaf blower is not that much complicated. A poorly adjusted carburetor causes many troubles in a leaf blower. It may stall completely or do not idle appropriately when the carburetor needs adjustment.
Follow these simple steps to adjust the carburetor on the blower.
How To Adjust Carb On Ryobi Leaf Blower?
Adjusting a carburetor is a crucial factor not only for Ryobi BP42 but for any leaf blower. The Ryobi blower carburetor includes a diaphragm-type system that requires no further adjustment. However, the carburetor may need adjustment when the engine does not work properly despite having enough fuel in the fuel tank.
But before you proceed on how to adjust carburetor on Ryobi leaf blower, do check the air filter condition in the first place. A dirty air filter may prevent air from passing to the carburetor resulting in a lean running engine. And the situation may look like a carburetor problem.
You may face one of the following Issues that may indicate the leaf blower has a complication in the carburetor-
So, if you experience one of the issues stated above, then we highly recommend you adjust the carburetor.
Adjusting The Carburetor
Step 1: Initial Idle Speed Settings
- Stop the engine. Then remove the lid of the air filter.
- Take a screwdriver and insert it into the air filter.
- Since Ryobi blowers may either include a Walbro or Zama carburetor, therefore, we have solutions for both of them. Here go the settings for both carburetors:
- Zama Carburetor: If your Ryobi leaf blower turns out to have a Zama carburetor, follow these steps for the initial setting-
- Drive out the Ryobi carburetor adjustment screws with the screwdriver by turning in a counterclockwise direction. Make sure the screw does not have any attachment to the bottom.
- Keep it away from the throttle valve. Ensure that the throttle lever has stopped.
- Drive the screw in again in a clockwise direction so that it moves the throttle lever.
- Turn it two more times in full circulation.
- Walbro Carburetor: If the leaf blower includes a Walbro carburetor, then the setting is as below-
- Drive the idle speed screw out of the core, moving the screwdriver counterclockwise. Make sure it remains touchless with the throttle lever.
- Turn back the screw in the clockwise direction. Keep doing until it touches the throttle lever.
- Turn two more times in full circulation.
The initial setting is a pre-requirement for the carburetor to start and warm it up before final adjustment.
Step 2: Initial High And Idle Speed Mixture Needle Setting
After the initial adjustment, you need to check on the mixture needle settings.
1. Take a screwdriver. Use it to turn out the mixture needles of both high-speed and idle speed settings counterclockwise until the limiter caps pause.
In case you are wondering where the mixture needle holes might be, they are at the rear of the top grip.
2. Start the engine of the blower. Run it for at least a minute.
3. Release the trigger. Let the engine run neutral (idle).
4. Provided that the engine stopped, drive the idle speed screw clockwise up until the engine idles about 1/8 of a full circulation a little at a time.
Step 3: Final Idle Speed Screw And Mixture Needle Setting
This setting is a pre-requirement to get a smooth idle engine.
1. Drive the idle mixture speed in a clockwise direction up until the idle is in its fastest form. Turn the needle in an anticlockwise direction 1/8 time the full circulation.
2. Press the throttle trigger. In case the engine does not run properly when you accelerate, drive the idle speed mixture needle in the counterclockwise direction. Keep turning the screw a little at a time, about 1/16 times of a full circulation up until the engine runs fine.
3. If the speed has a noticeable rapid change, readjust the initial setting.
Step 4: High-Speed Mixture Needle Final Adjustment
You’ll require a tachometer (measures speed) to adjust the high-speed mixture needle.
1. The high-speed mixture needle has a preset setting. However, if it needs further adjustments, we advise you to contact the local authorized service provider.
Caution: Do not push the limiter caps too much with the screwdriver. Otherwise, you might damage them or the needles unintentionally.
Be aware not to remove the limiter caps in order to keep the warranty valid and not violate the 1995 California Emission Regulation.
This Video Will Help You Too!
Frequently Asked Questions (FAQs)
Why does my Ryobi leaf blower won’t stay running?
Your Ryobi leaf blower may be stalling due to a clogged carburetor. This is a common issue for a blower to keep stalling because of the sticky substance stuck into the carburetor.
What is the H and L on a carburetor?
The H signifies a high-speed jet, L signifies a low-speed jet, and the I signifies an idler jet.
How do you adjust a Ryobi carburetor?
To adjust a Ryobi carburetor, hold the throttle open and turn the Ryobi bp42 carburetor adjustment screws up until the engine reaches its highest speed. Then turn back 1/8 or 1/16 of the turn. You’ll have to perform the task while the engine is warm.
Final Words
We hope now you know how to adjust carb on Ryobi leaf blower.
However, you don’t need any specialized Ryobi carburetor adjustment tool to fix it. Any regular screwdriver will do the job.
